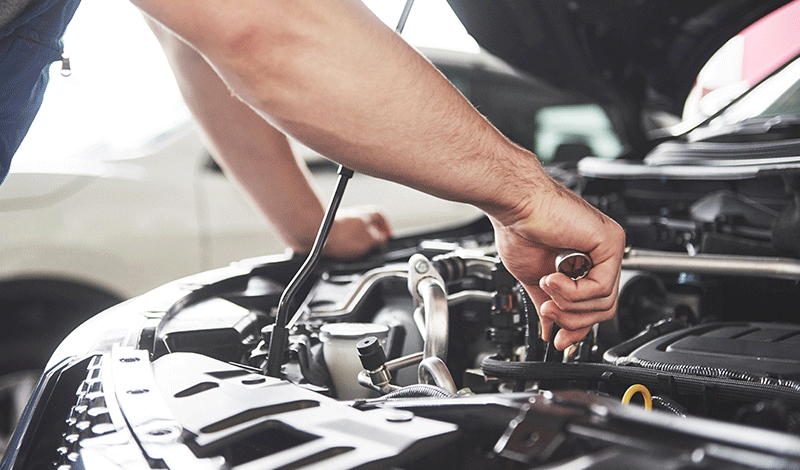
Diving into car repairs can be daunting, but you’ve got this! Our guide demystifies common car fixes, empowering you to tackle them with confidence.
First up, change your oil. It’s crucial for a smooth-running engine and, with our tips, it’s simpler than you think. Then, we’ll show you how to handle a flat tire. No need to rely on roadside assistance; you can do it yourself!
Brake pads are next. Safety is paramount, and knowing how to replace them is a game-changer. We also cover battery maintenance to keep your car starting every time.
Headlight restoration is essential for clear night driving. We make it easy. And don’t forget those wipers! Replacing them is quick and improves visibility dramatically.
Air conditioning repairs keep you cool and comfortable. Our straightforward advice helps there, too. Got a dent? We’ll guide you through smoothing it out. Spark plugs and fluid checks are also in the mix, rounding out your car care skills.
Take control of your car’s health today!
Changing Your Oil: DIY Basics for a Smooth Ride
Changing your car’s oil is crucial for its health. It’s like giving your car a fresh drink. First, you need the right tools. Grab an oil filter wrench, a funnel, and a new oil filter. Also, get the right type of oil for your car. Check your manual for this.
Start by finding the oil drain plug under your car. It’s usually at the engine’s bottom. Place a container underneath to catch the old oil. Then, unscrew the plug carefully. Let the old oil flow out completely. This might take a few minutes. Be patient!
Next, remove the old oil filter using your wrench. It might be tight, so turn firmly. Once it’s off, put on the new filter. Make sure it’s secure but don’t over-tighten it. Now, you’re ready to add new oil. Open your car’s hood and find the oil cap. Remove it and use a funnel to pour in new oil. Check your manual for how much oil your car needs.
Finally, replace the oil cap and start your engine. Let it run for a minute. This circulates the new oil. Check under the car for leaks. If all looks good, you’ve successfully changed your oil!
Flat Tire? No Problem: A Beginner’s Guide to Tire Changes
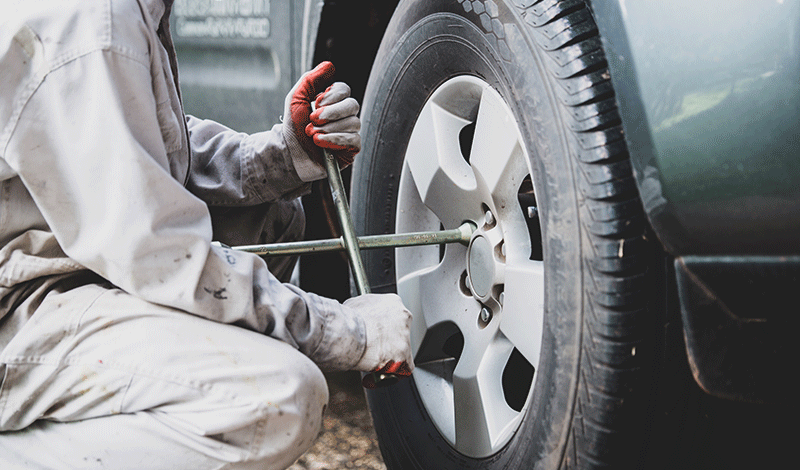
A flat tire can happen anytime. But don’t worry, changing it is straightforward. First, make sure you have a jack, a lug wrench, and a spare tire. Always keep these in your car. You’ll also need a flat, stable surface to work on. Safety first!
Begin by loosening the lug nuts on the flat tire. Do this before lifting the car. Use the lug wrench and turn the nuts counter-clockwise. Don’t remove them completely yet. Just loosen them a bit. This makes it easier to unscrew them when the car is lifted.
Next, use the jack to lift the car. Place it under the car frame near the flat tire. Pump or turn the jack handle to raise the car. Make sure it’s high enough for the flat tire to spin freely. Now, remove the lug nuts completely. Keep them in a safe place. You’ll need them again soon.
Take off the flat tire and put the spare tire on. Line up the holes in the spare tire with the wheel studs. Then, put the lug nuts back on. Tighten them by hand first. Lower the car back down using the jack. Once the car is on the ground, use the wrench to tighten the nuts as much as you can.
Changing a tire is a valuable skill. With practice, you’ll get faster and more confident. Remember, safety is key. Always work in a safe area and use the right tools.
Brake Pads Made Easy: Step-by-Step DIY Replacement
Brake pads are key for safe driving. They need regular checks and changes. Noticing wear and tear? It’s time for a change. Here’s a simple guide.
First, gather your tools. You’ll need a lug wrench, jack, and C-clamp. Safety first, so wear gloves and glasses. Jack up your car and remove the wheel. You’ll see the brake caliper; that’s where the pads live.
Next, remove the caliper. It’s usually held by bolts. Slide it out carefully. Avoid damaging the brake line. Now, you’ll see the old brake pads. Slide them out. Check the rotors too. If they’re rough or damaged, consider professional help.
Now, place the new pads. They slide right in where the old ones were. Easy, right? But, before you put the caliper back, compress it with a C-clamp. This makes room for new, thicker pads.
Finally, reattach the caliper and wheel. Lower your car safely. Done! Test your brakes gently at low speeds first. Feel proud! You’ve just done a crucial car repair yourself.
Revive Your Battery: Simple Car Battery Maintenance Tips
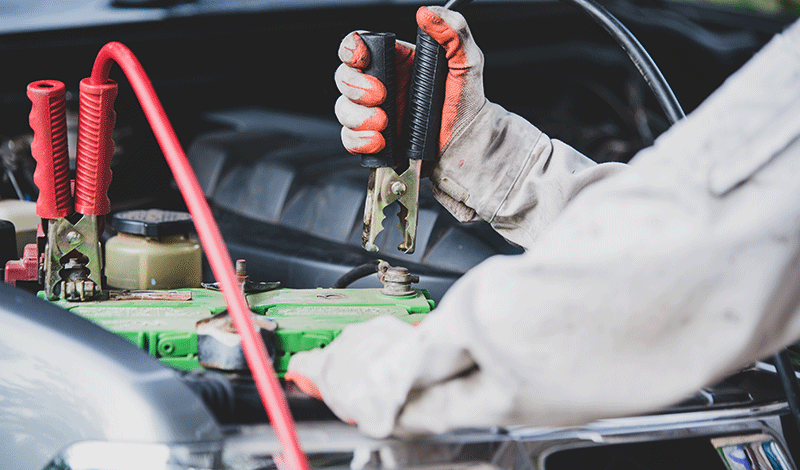
A healthy battery means a happy car. Let’s keep it running strong. Here’s how to maintain your car battery. It’s easier than you think!
First up, clean the terminals. Over time, they get corroded. This affects performance. Use a brush and a mixture of baking soda and water. Scrub gently. Rinse with water, then dry. This simple step can boost your battery’s connection.
Next, check the battery’s charge. Use a multimeter. Set it to DC voltage. Touch the red to positive, black to negative. A healthy battery should read around 12.6 volts. Lower? It might need charging or replacing.
Keep an eye on the electrolyte level too. It’s the liquid in the battery. Low levels? Add distilled water. But be careful not to overfill. This helps the battery work efficiently.
Lastly, ensure it’s securely fastened. A loose battery can get damaged. Tighten any loose hold-down clamps or bars. This prevents unwanted movement.
Remember, safety first. Wear gloves and glasses. Avoid sparks or flames near the battery. With these tips, your battery will last longer. And you? You’re becoming a car maintenance pro!
Headlight Restoration: Brightening Your Night Drives
Restoring your car’s headlights is key for safe night driving. Over time, headlights can become cloudy. This reduces visibility. But, you can fix this easily.
First, gather your materials. You need sandpaper, a UV-resistant clear coat, and a clean cloth. Start by cleaning the headlight with soapy water. Rinse and dry it well.
Next, sand the headlight. Use circular motions and wet the sandpaper slightly. This removes the cloudy layer. Wipe the headlight clean after sanding.
Then, apply the UV-resistant clear coat. This step is crucial. It protects the headlight from future damage. Spray evenly and let it dry.
Finally, give the headlight a final wipe. Use a clean cloth to remove any residue. Now, your headlights should be clear and bright. You’ve enhanced your car’s appearance and improved your safety on the road.
Wiper Woes Be Gone: Quick Windshield Wiper Replacement

Replacing windshield wipers is a quick fix. It’s important for clear vision during rain. Old or worn-out wipers can streak your windshield. This makes driving in the rain dangerous.
First, buy the right wipers for your car. Wiper sizes vary, so check your car’s manual. Or, ask at an auto parts store.
Next, lift the wiper arm away from the windshield. Be gentle to avoid damage. Press the small tab where the wiper meets the arm. Slide the wiper down the arm to remove it.
Now, attach the new wiper. Slide it into the same end where you removed the old one. You’ll hear a click when it’s secure. Gently lower the arm back to the windshield.
Repeat on the other side. It’s best to replace both wipers at the same time. Now, you’re ready for any weather. New wipers mean a clearer view and safer driving in the rain.
Keep Cool: Basic Car Air Conditioning Repairs
Car air conditioning (AC) is crucial for comfortable driving, especially in warm weather. To keep it running smoothly, regular maintenance is key. Start by checking the AC refrigerant levels. Low levels can mean a leak, requiring professional help. However, if levels are just slightly low, you can top them up using a DIY refrigerant kit from any auto shop.
Next, inspect the AC filters. Clogged or dirty filters reduce efficiency. Replacing them is simple. Locate the filter, usually behind the glove box or under the dashboard. Slide out the old filter, and replace it with a new one. It’s an easy fix that can greatly improve your AC’s performance.
Another common issue is a dirty condenser. Leaves, dirt, and debris can block it, hampering airflow. Clean it using a soft brush and hose, being careful not to damage the fins. This improves airflow and cooling efficiency.
Lastly, listen for unusual noises when the AC is running. Rattling or buzzing can indicate loose components. Tighten any loose parts you find. If noises persist, seek professional help. Regular DIY checks and fixes can keep your car’s AC in top shape, ensuring a cool and comfortable drive.
DIY Dent Removal: Smoothing Out the Bumps
Dents on your car are unsightly but often easy to fix at home. The first method to try is using a plunger. Wet the plunger and the dented area, then firmly press and pull the plunger. This can pop out small to medium-sized dents, especially on flat surfaces.
If the plunger method doesn’t work, try using a dent puller kit. These kits come with glue and a special pulling tool. Apply the glue to the pulling tab, attach it to the dent, and use the tool to pull the dent out. Once done, peel off the glue. This method works well for larger dents.
For tiny dents, a hairdryer and compressed air can work wonders. Heat the dent with the hairdryer, then immediately spray the area with compressed air. The rapid temperature change can pop the dent out.
Lastly, remember that some dents might be too complex for DIY methods. If the paint is cracked or the dent is on a corner or crease, it’s best to consult a professional. Regular checks and tackling small dents yourself can keep your car looking its best without costly trips to the body shop.
Replacing Spark Plugs: Igniting Your Car Knowledge
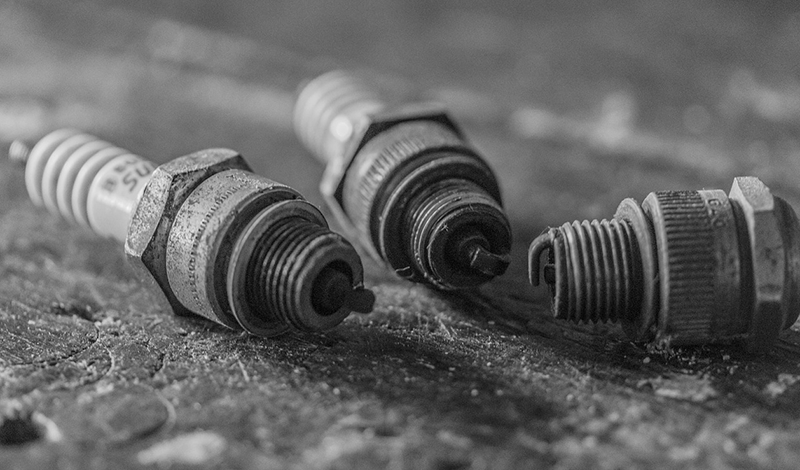
Replacing spark plugs is a key part of car maintenance. Spark plugs ignite the fuel in your engine. When they wear out, your car might struggle to start. Here’s a simple guide to changing them.
First, find your car’s spark plugs. They’re usually on the engine block. Check your car’s manual if you’re not sure. Make sure your engine is cool before you start. This is crucial for safety.
Next, remove the old spark plugs. Use a spark plug socket and ratchet. Turn the ratchet counterclockwise to loosen the spark plug. Be gentle. You don’t want to damage anything.
Now, put in the new spark plugs. Screw them in by hand at first. Then, use the ratchet to tighten them. But don’t over-tighten. That can damage the threads.
Finally, reattach the spark plug wires. Make sure they’re secure. Start your car to check if it’s running smoothly. That’s it! You’ve replaced your spark plugs.
Fluid Check & Top-Up: Keeping Your Car Hydrated
Your car needs fluids to run well. Just like you need water, your car needs fluids like oil, coolant, and brake fluid. Checking and topping up these fluids is easy.
Start with the engine oil. Find the dipstick under the hood. Pull it out and wipe it clean. Then, put it back in and pull it out again. Check the oil level. If it’s low, add more oil.
Next, check your coolant. It’s usually in a clear tank. Look at the level markings on the side. Add coolant if it’s below the ‘full’ line. Never open the coolant cap when the engine is hot.
Brake fluid is also important. Find the brake fluid reservoir. Check the fluid level against the marked lines. If it’s low, top it up. Use the correct type of brake fluid for your car.
Windshield washer fluid is the easiest. Just fill the washer fluid tank. Use a quality windshield washer fluid. This helps keep your windshield clean and clear. In these steps, you’ve checked and topped up your car’s essential fluids. Regular checks like these keep your car running smoothly.

